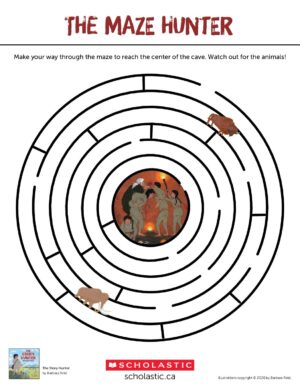
Maze Hunter
Maze Hunter
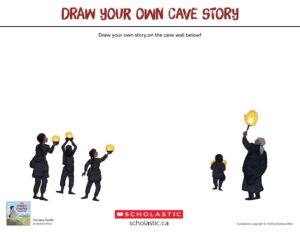
Draw Your own Cave Story
Become a Story Hunter
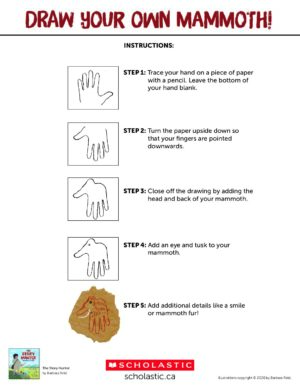
Draw Your Own Mammoth!
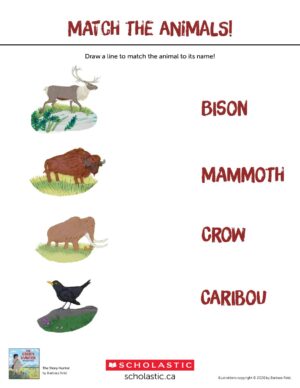
Match the Animals!
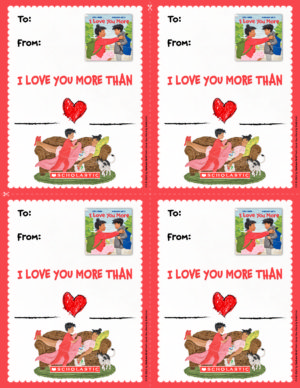
I Love You More cards to print, fill in and share!
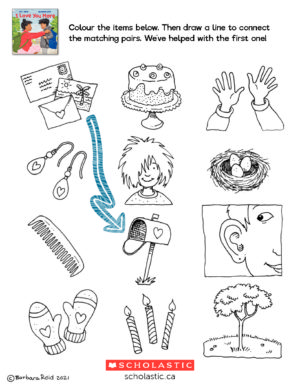
Colour and match!
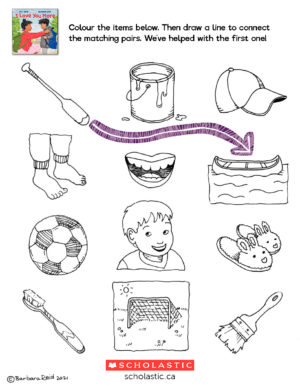
Colour and match 2
Fill in the blanks
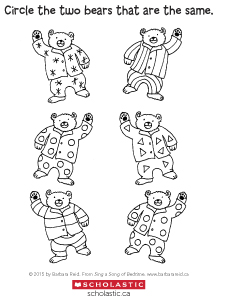
Find the matching bears
Colour the Picture
Spot the differences
Matching game
Make a tree ornament
Make a seasonal decoration
Can You Spot The Difference?
Help Decorate The Tree!
Fill The Stocking!
Dear Santa
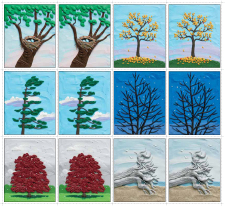
Picture a Tree matching game