I receive hundreds of letters from children and visit many schools and libraries. One of the best parts of a visit is getting to meet students and see their wonderful plasticine artwork. I love the way whole classrooms of artists learn by watching each other and sharing techniques. I know I learn something new every time I step into a school or open a letter.
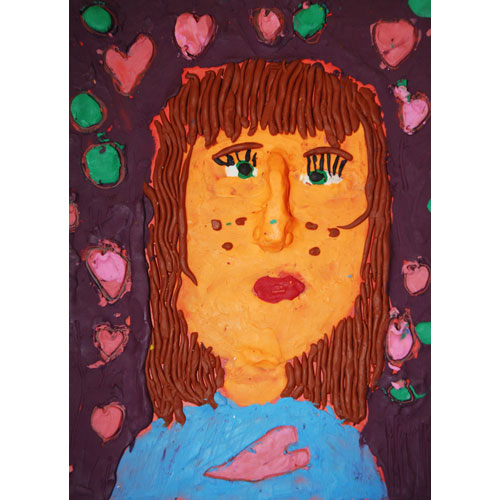
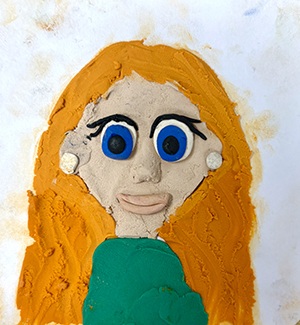
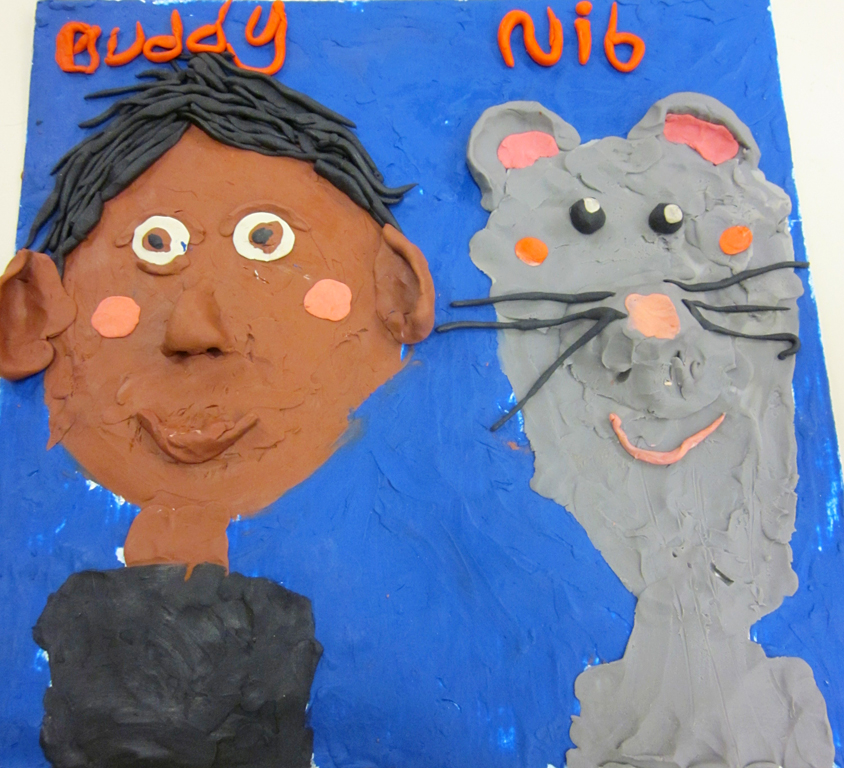
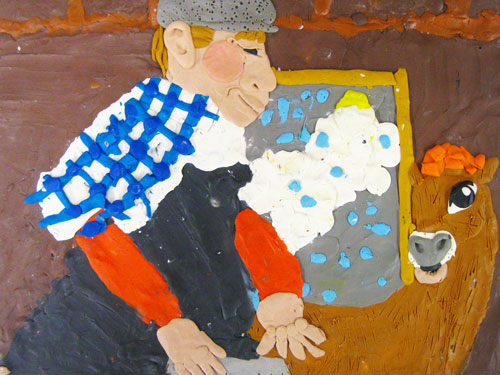
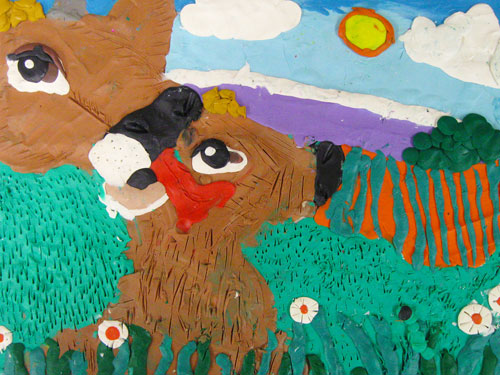
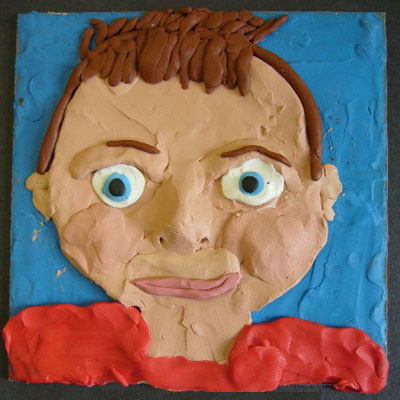
Portraits With Personality
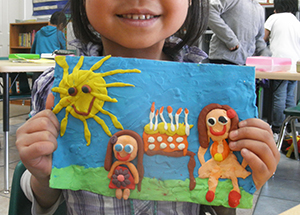
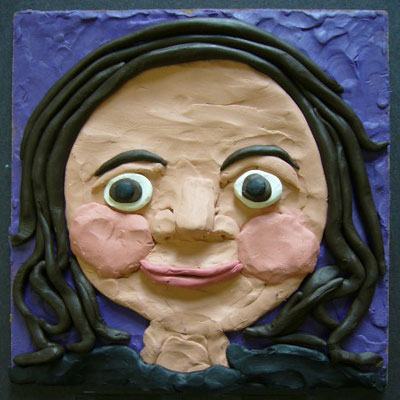
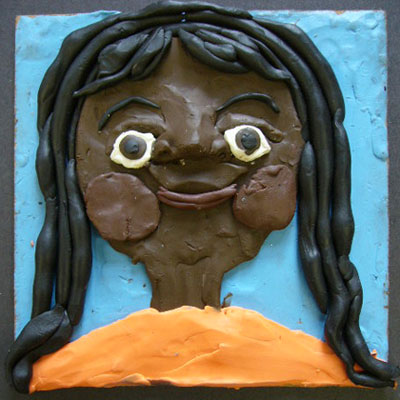
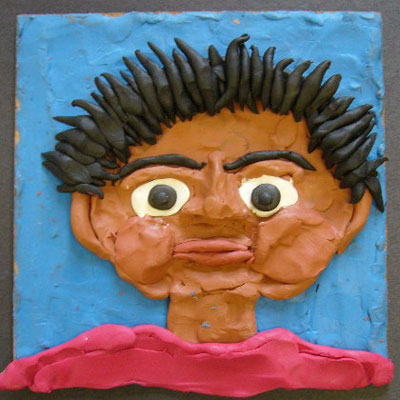
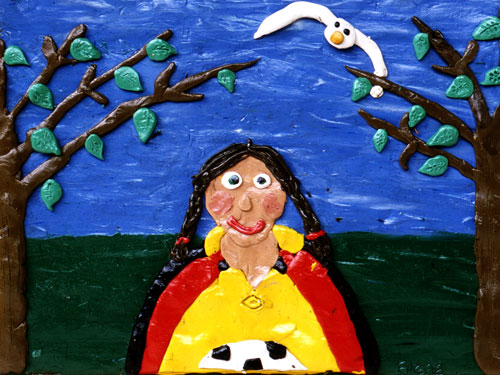
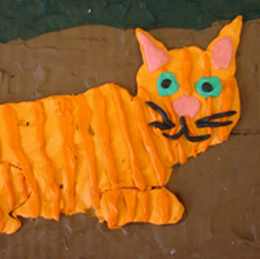
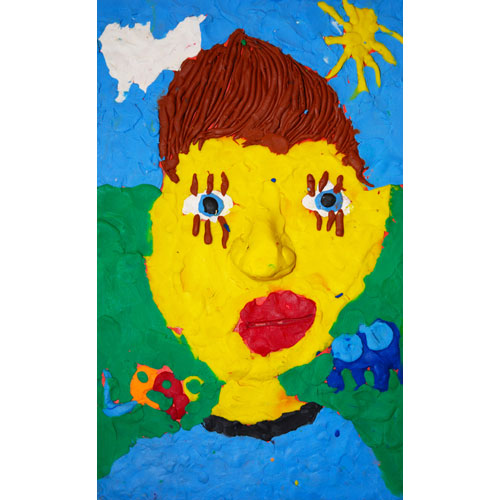
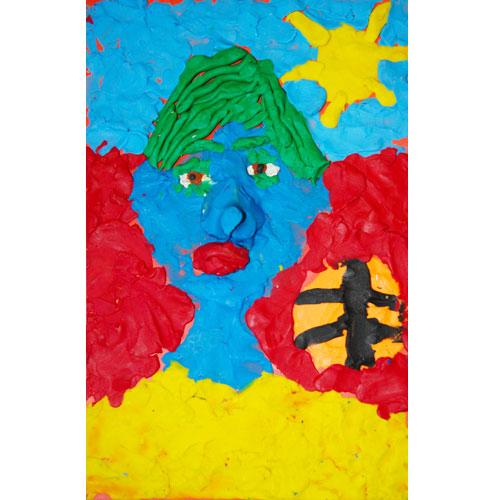
Self portraits, portraits of friends and family, and even pet portraits are fun to make. They make great gift too. Look in the mirror, have someone pose, or use a photo for reference. You can use clothing, setting, and other details to tell more about the subject. You can also create portraits of imaginary people or book characters.
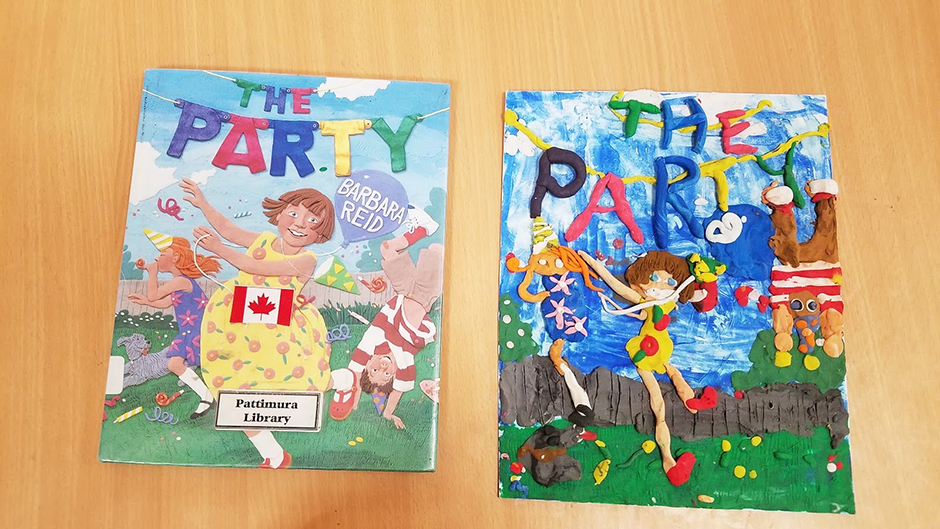
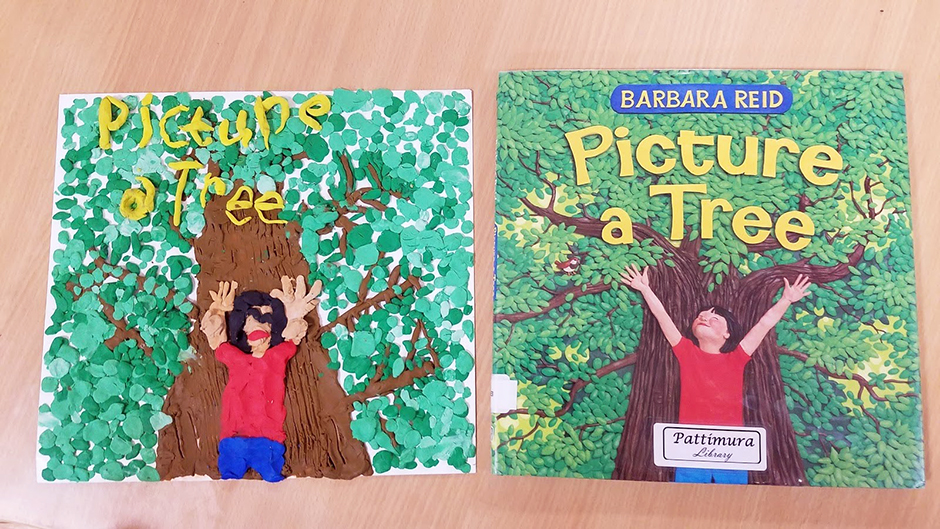
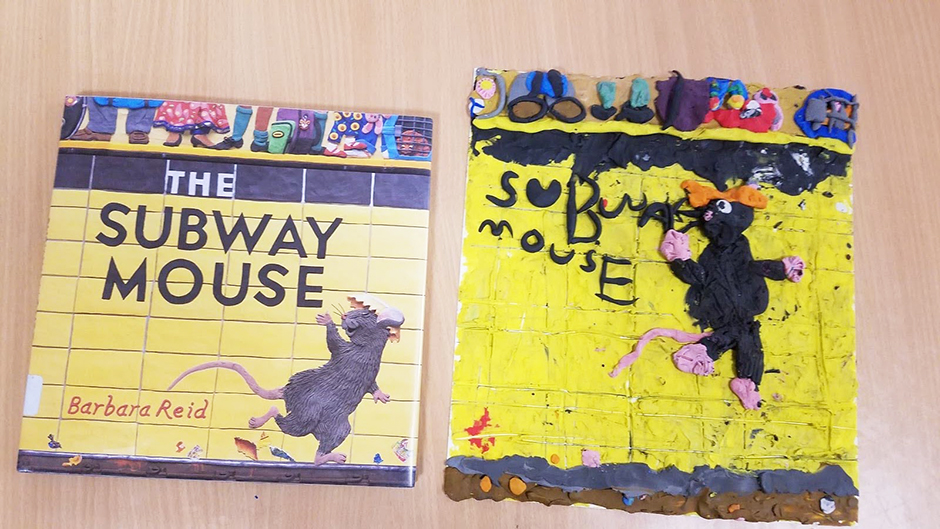
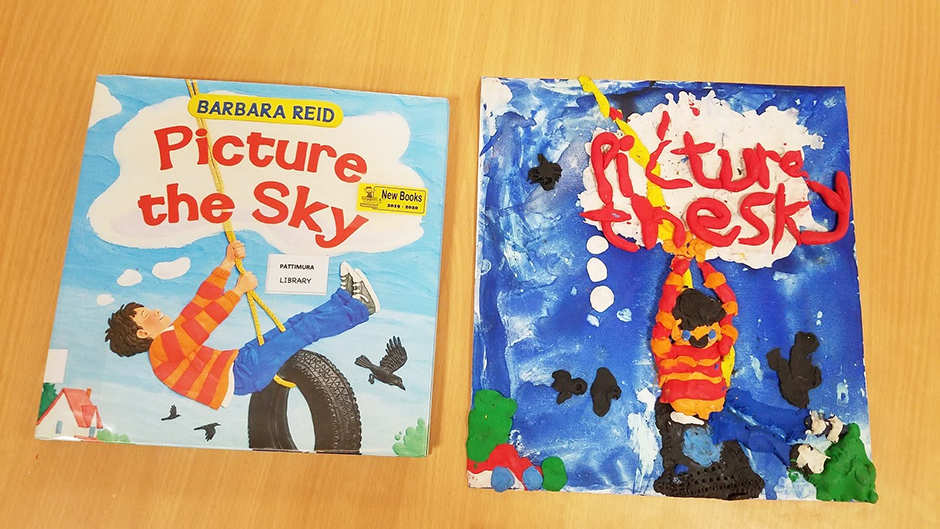
Book Covers from Jakarta
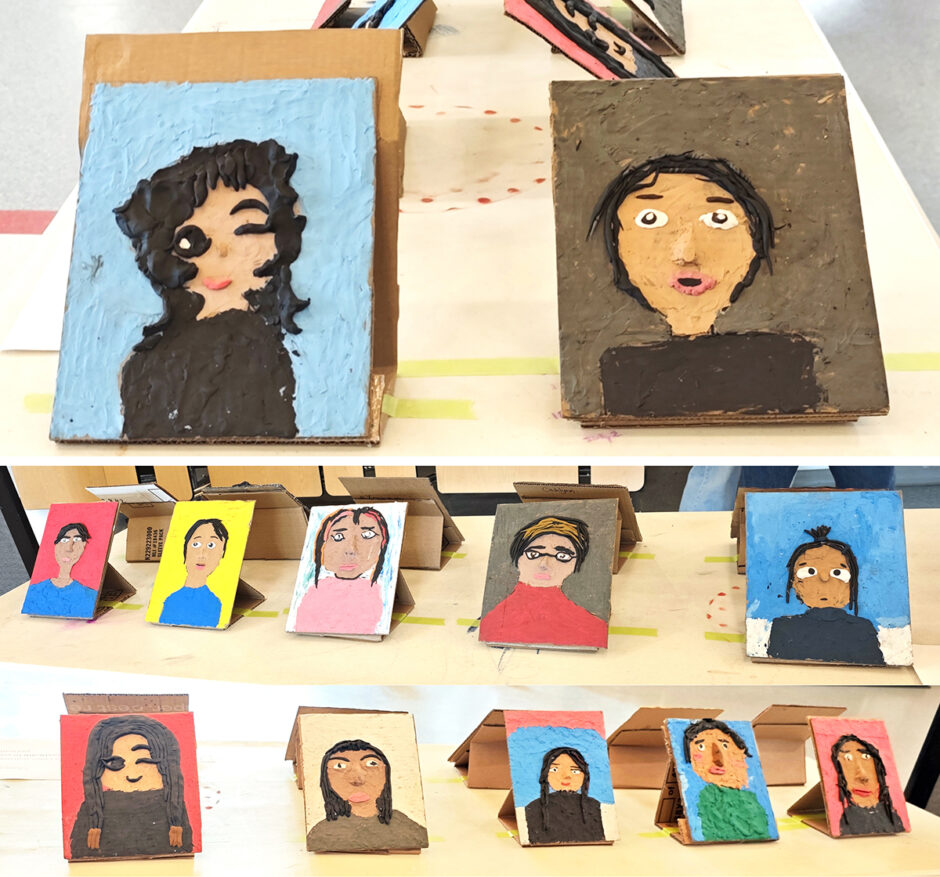
These beautiful book covers were made by kindergarten students in Jakarta, Indonesia. Here is a note from their teacher: “My name is Kailyn. I am a Canadian living in Jakarta and teaching kindergarten at an international school. I read Subway Mouse to my students before our December break and they were completely enamoured and begged me to do plasticine work. I hauled back about 20kg of plasticine from Canada and it has become a passion in the classroom. They’ve created their own stories and also made a tribute to you for our book week door decoration :)” It’s always a pleasure to make new friends around the world.
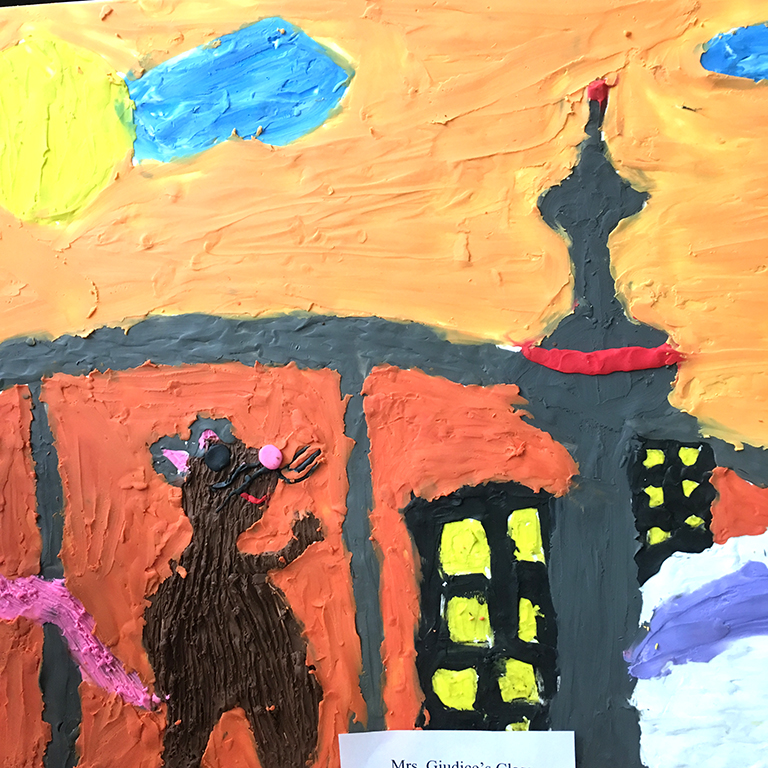
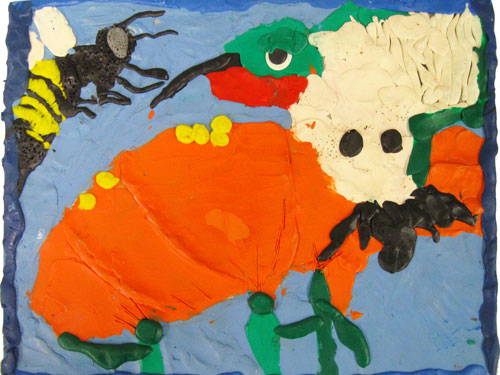
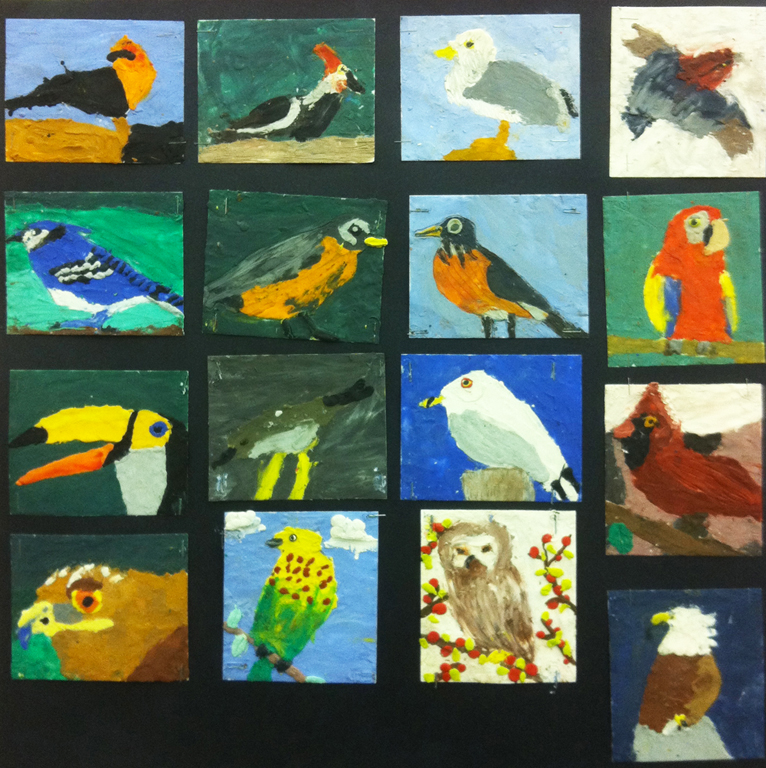
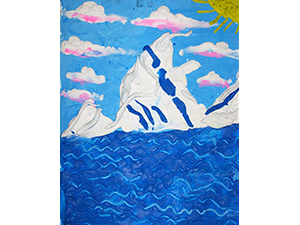
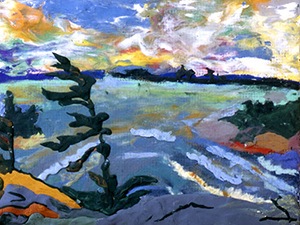
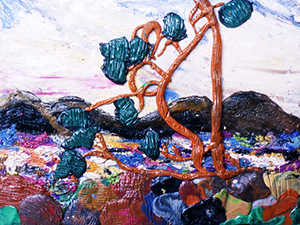
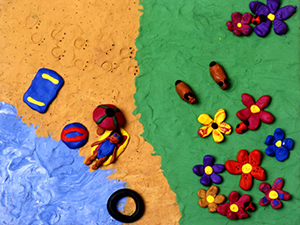
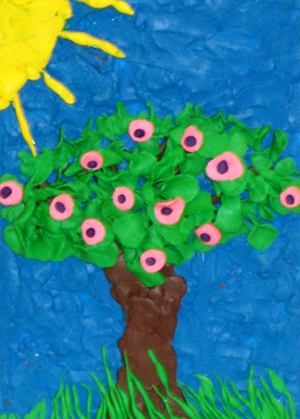
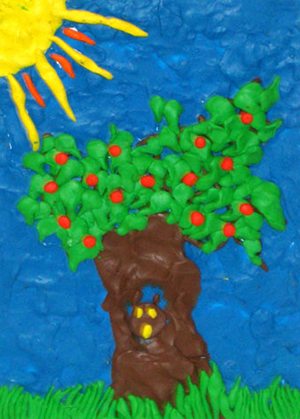
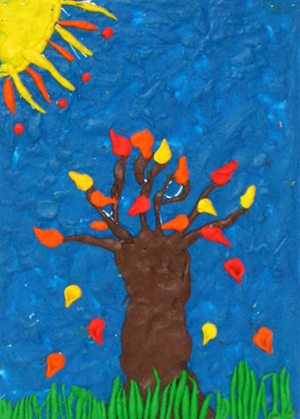
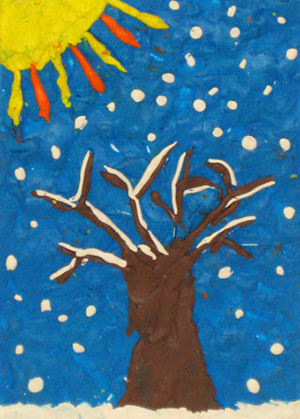
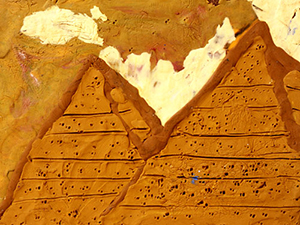
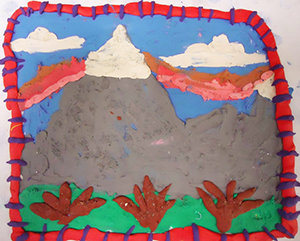
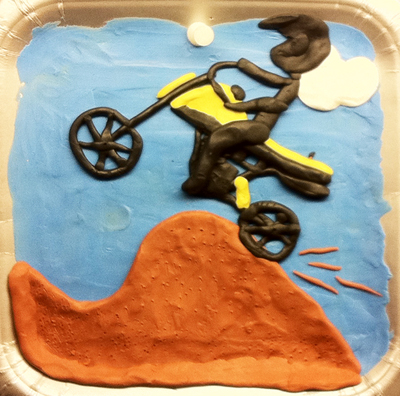
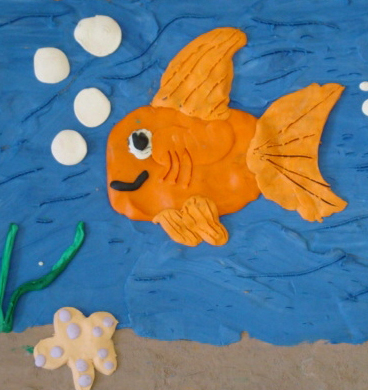
Get Creative!
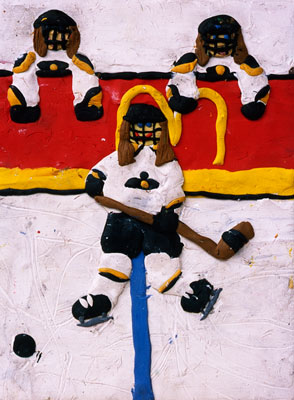
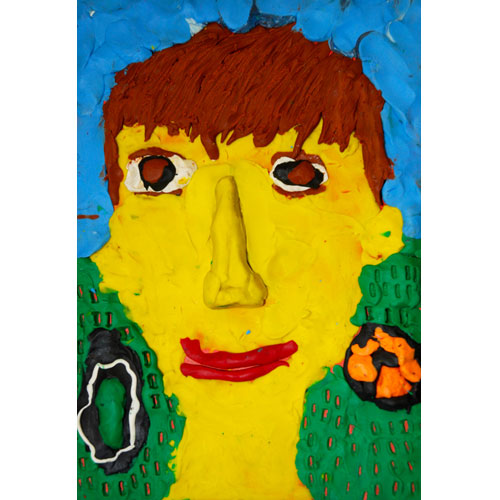
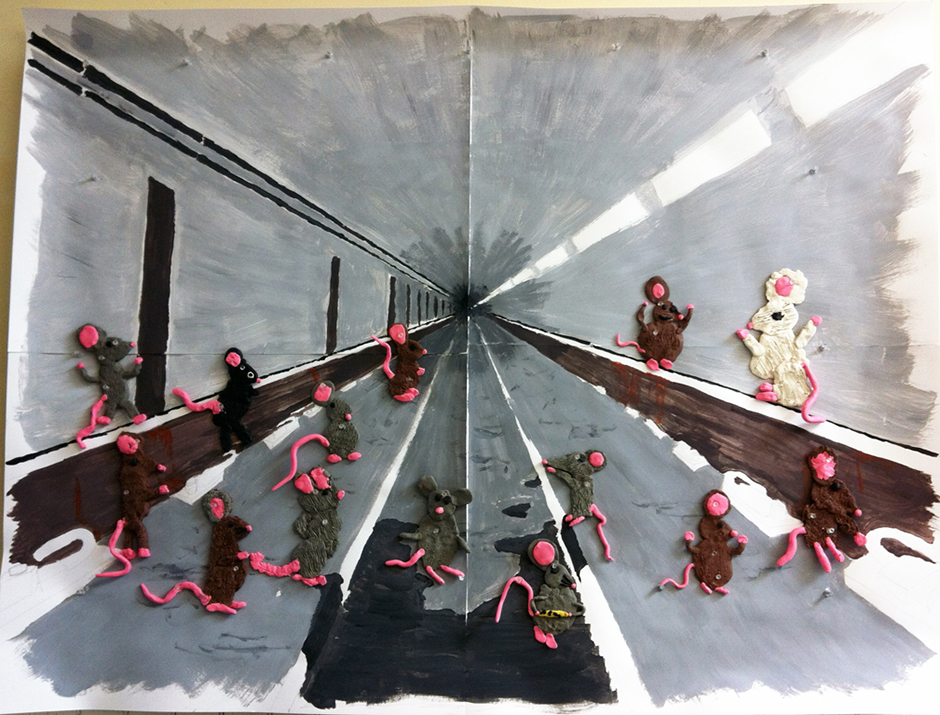
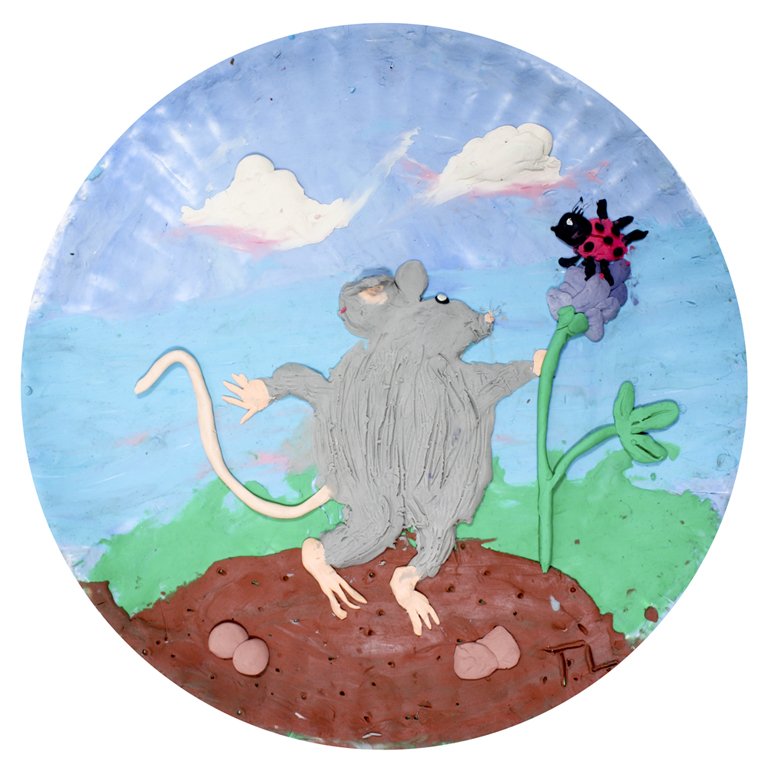
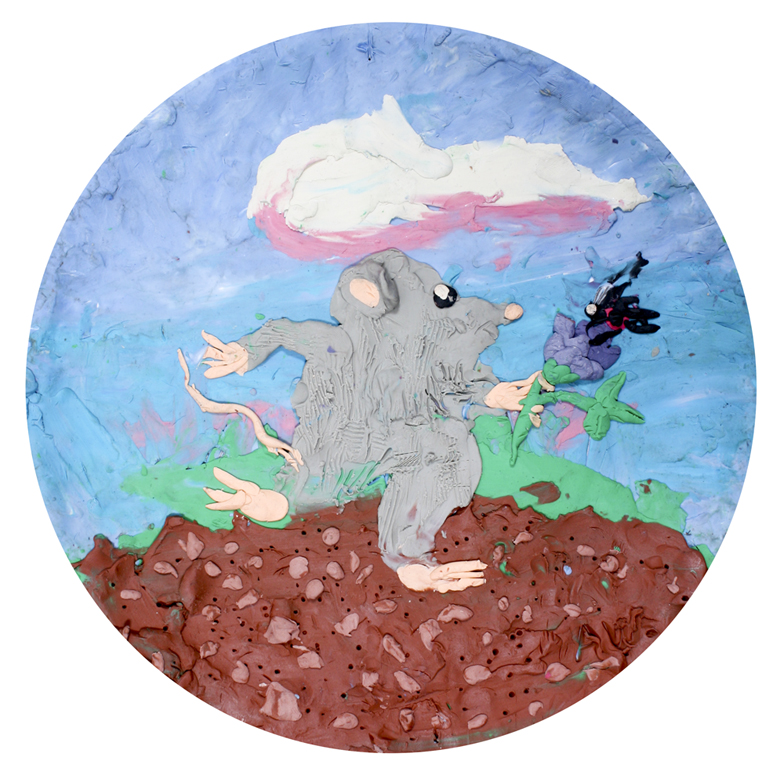
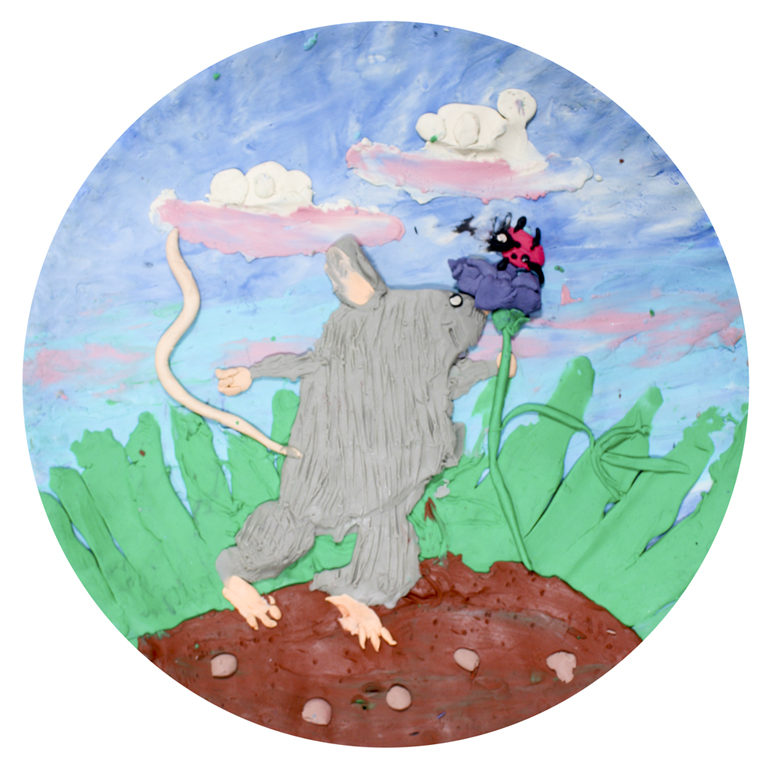
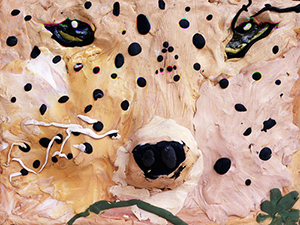
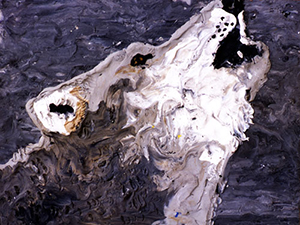
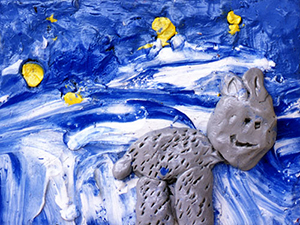
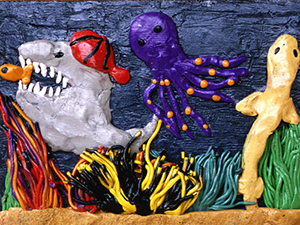
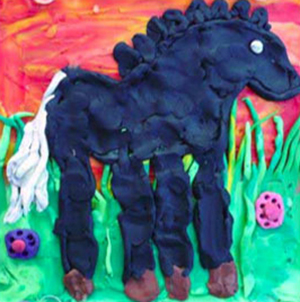
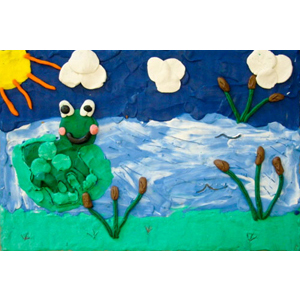
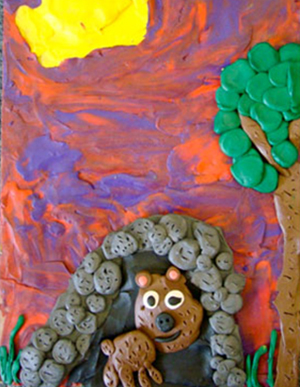
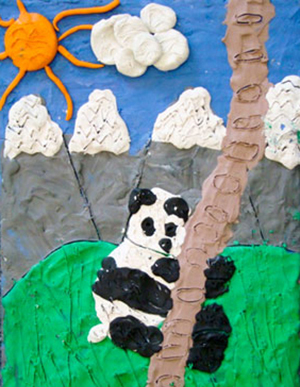
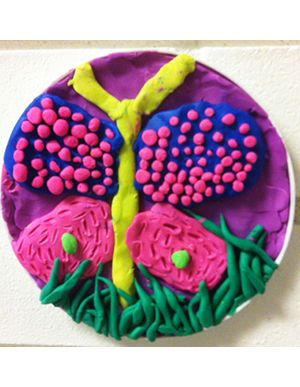
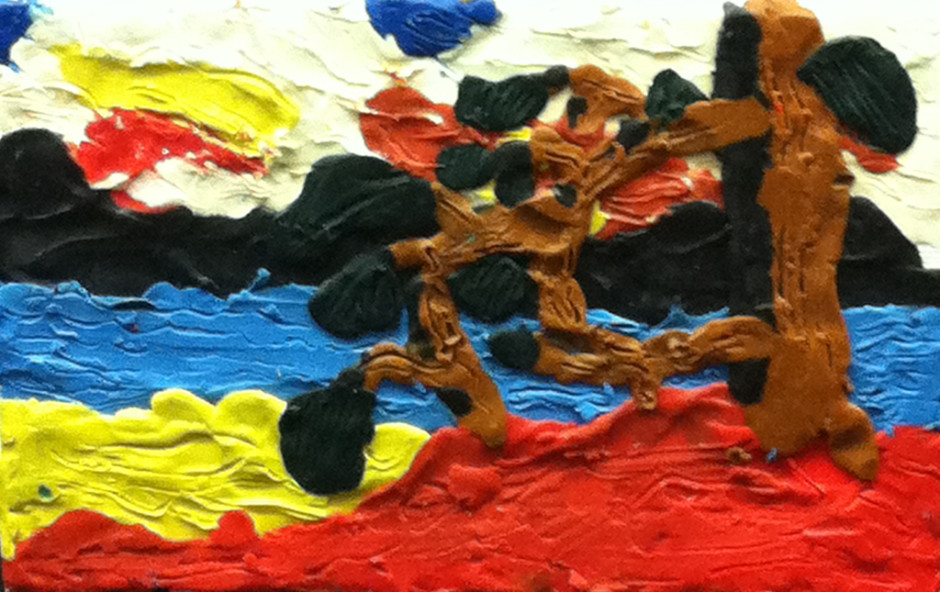
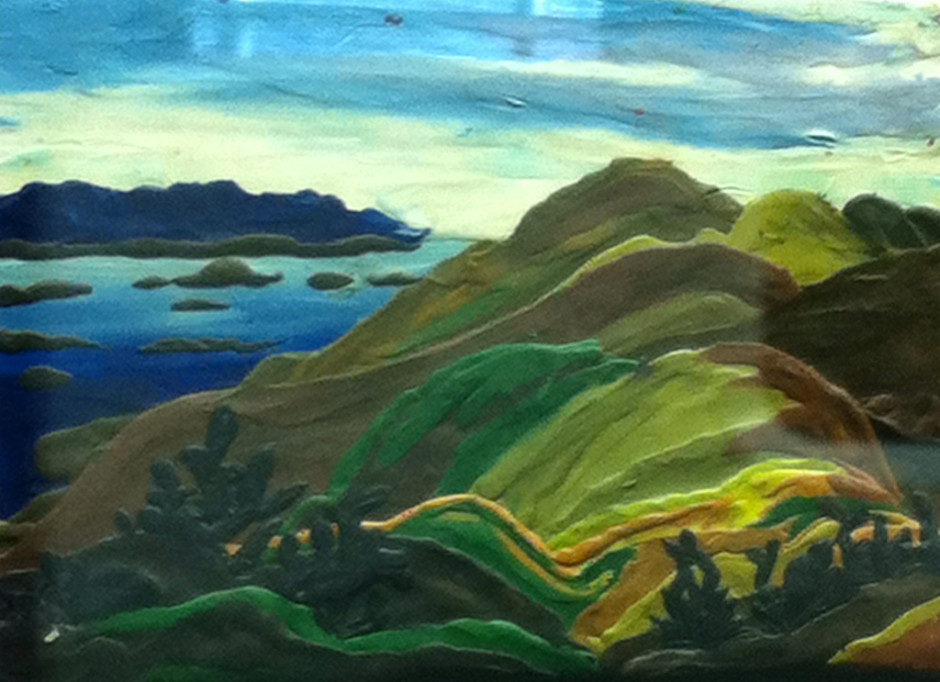
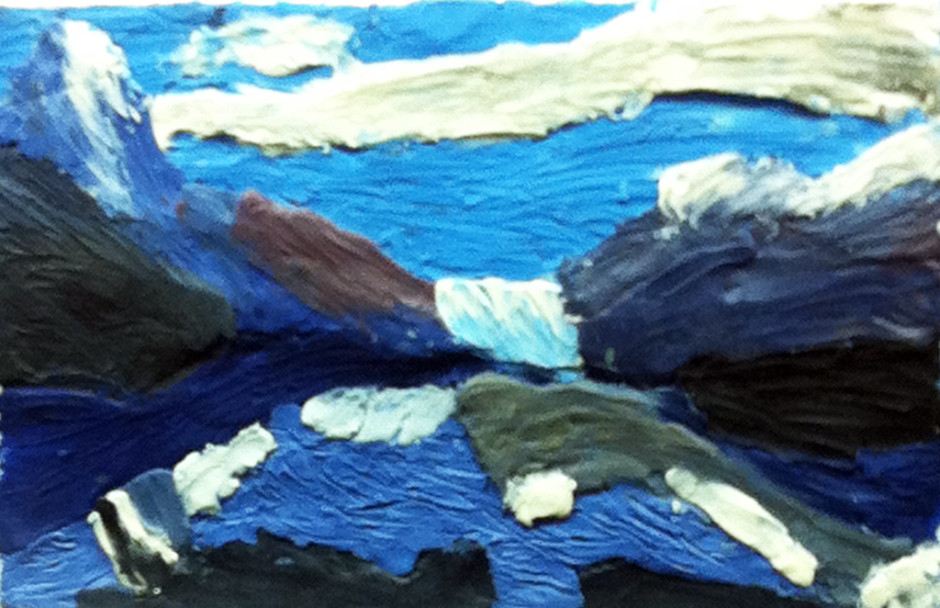
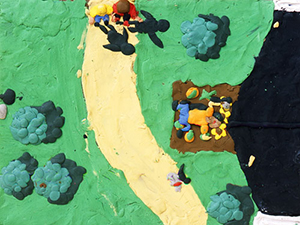
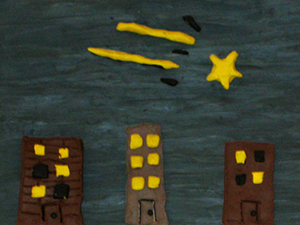
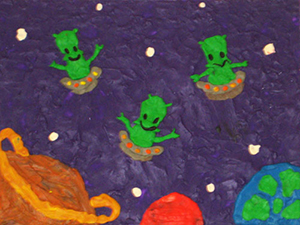
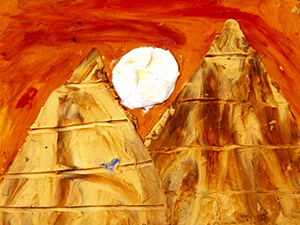
Need some ideas? Here are some outstanding examples of clay artwork to get you started!